Low-cost sensors have emerged as a sound solution to air quality monitoring with better spatial coverage. The prime concern over the large-scale deployment of these sensors is their accuracy. However, the cost-effectiveness and the ability of such systems to provide regulatory grade data has led to large-scale ground studies. Governments and research organizations play an elemental role in supporting these studies. The United Nations Environment Programme (UNEP) identifies low-cost sensors as important in providing supplemental air quality data for improving the precision, accuracy, and spatial/temporal coverage of satellite and traditional reference station measurements.
In addition to that, the Indian Institute of Technology, Kanpur (IIT) in collaboration with the Maharashtra Pollution Control Board (MPCB) has conducted a detailed analysis of indigenous low-cost sensors. The primary aim of this study was to curb the declining air quality of Maharashtra through a network of monitoring devices. This study reports 85-90% sensor efficiency which is subject to improvement with periodic maintenance.
What is low-cost air quality sensor calibration?
Air quality sensor calibration is the process of correcting or adjusting the sensor measurements by juxtaposition with a known/reference concentration of the parameters. Moreover, these sensors present a unique solution for large scale air quality studies. They are capable of monitoring a wide range of ambient air parameters. These include Carbon dioxide, Volatile organic compounds (VOCs), particulate matter, and Sulphur dioxide among others. However, a strong framework of calibration procedures precedes deployment. This focuses on improving the sensor accuracy through multiple tests in laboratory as well as the location of installation. Calibration is an essential part of quality control of the sensors as it helps identify and eliminate data drifts.
Important calibration terms for accuracy analysis
Data drift
Drift is a deviation in the sensor readings due to external influences such as temperature fluctuations or environmental conditions. It leads to a change in the measurements over time leading to misinformation.
Bias
Bias is a persistent systematic error in measurement which always maintains a constant drift from the actual value. The output might show a higher or lower reading than the true value.
Accuracy
NIST defines accuracy as the level of agreement or the closeness of values reported by the sensor with respect to the reference measurements/ known values of the target parameter.
R2
R2 or coefficient of determination value is the measure of sensor performance as compared to a reference station. It provides statistical information on the nature of correlation that exists between two variables. In the sensor calibration, these refer to the sensor outputs and known reference values. To conclude, an R2 value of 1 indicates a perfect correlation with the reference-grade monitor.
Calibration Curve
Every sensor has a calibration curve that represents its response in reference to the input gas concentration. For calibration purposes, this input concentration is pre-determined in order to identify drifts.
How do local environmental conditions affect sensor performance?
Low-cost sensor devices are easy to install and operate on a large scale. The findings suggest that, in addition to being capable of producing highly precise readings, the overall dependability of these sensors is subject to timely calibration. Relative humidity and temperature of the area of installation interfere with the measurements. This in turn might lead to a misguided increase or decrease of pollution trends. For instance, electrochemical sensors, in particular, are affected by ambient temperature fluctuations, moreover, studies have indicated that this can lead to a lower coefficient of determination value i.e R2 <0.2.
What are performance targets and their importance in improving accuracy?
The sensor performance targets are essential for both manufacturers and users in order to identify the reliability of the unit. USEPA has outlined certain considerations relating to the selection of an air quality monitoring system. These performance parameters generally include calibration procedure findings such as drifts.
These measurements from calibration further provide an evidence base for the reliability of data produced. Smart city monitoring is also being achieved following such comprehensive studies focused on data accuracy. The process of refining sensor performance is an exceedingly complex and technical task. However, with an all-encompassing approach, Low-cost sensors are becoming reliable and more accurate for providing reference-grade pollutant measurements.
Robust calibration models for large-scale deployment of air quality monitoring equipments
Ideally, EPA strongly recommends on-site calibrations to exactly determine the sensor response to local meteorological conditions and immediate application of corrective factors. However, multiple calibration steps precede the device installation and operation. This method further ensures a higher data precision.
How do you calibrate air quality monitoring devices? – OIZOM’s 3 level calibration model
A sound air quality sensor calibration process can ensure data accuracy and reliability through multiple levels. Furthermore, these range from zero-level calibrations to reference-grade comparisons on site of installation aimed at eliminating errors and regional meteorological interferences.
1. Factory Calibration
Our sensor manufacturing partners accomplish this with zero concentration air and calibration gases. It ensures that the sensor performance is according to the specifications provided. Additionally, it is a primary step in the sensitivity analysis of individual sensors.
2. Laboratory Calibration
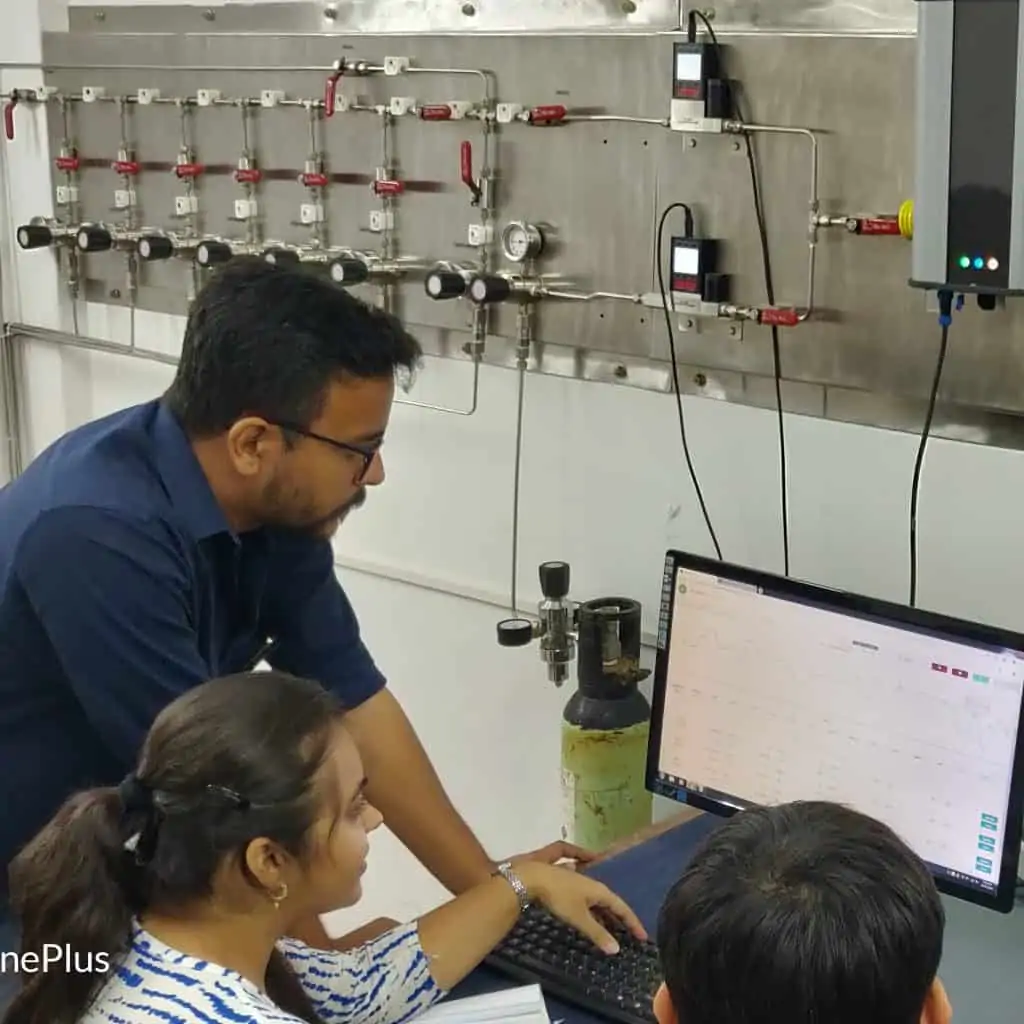
A clean and controlled environment is necessary for efficient calibration output. Gas cylinders with known parameters within recommended values should be available. To ensure correct results, nearby sources of ambient contamination need to be identified and eliminated. Furthermore, multiple readings help determine the consistency of sensor operation.
The laboratory monitored calibration includes two subsequent steps, i.e
Zero Calibration is a primary step in establishing a baseline error for sensor performance. The sensors are further exposed to zero/negligible target gas concentration. In addition to that, drifts and bias are analyzed through deviations in the output.
Span Calibration includes the input of a target gas with a known concentration. The known input values help in quantifying the drifts in the sensor readings. The gas cylinders used are in accordance with the National Institute of Standards and Technology (NIST). Additionally, this ensures complete control of the values of the input concentration of the target gas.
3. Colocation Calibration
Regional interferences in sensor readings tend to create significant drifts in the data. These regional signals arise from local meteorological conditions including temperature and humidity. However, such conditions do not affect every sensor. Colocation/ spot calibration eliminates any possible deviations from the output data. A low-cost sensor-based device is operated with a reference-grade monitor for 5-6 days at the installation site.
These calibration models involve multiple steps before actually moving on to the correction and data analysis part. This generally includes planning the scientific evaluation for data recovery and review. The number of identical sensors to be used along with the appropriate operational timeline is determined at this stage. Similarly, site evaluation is also an important aspect, as it includes looking out for unusual activities on-site that can trigger interference with sensor calibration.
Supportive air quality sensor calibration studies in collaboration with research institutions
As a part of our research initiative for expanding the level of data accuracy and reliability for the users, OIZOM has collaborated with multiple projects from AQMD, the University of York, and IIT Kanpur. Additionally, these projects include intensive data collections for longer durations on-site for generating qualitative and quantitative analysis reports on the sensor performance.
Case study for SO2 and CO sensors
OIZOM employs sensors working on diverse principles such as photo-conductivity, optical scattering, Non-dispersive infrared radiation (NDIR), and so forth. This includes analysis and correction of two major factors affecting sensor performance i.e Sensitivity and data drift.
Zero calibration for data drift
Zero calibration is the process whereby the sensor offset or drift is determined. This drift is the deviation of the final sensor output as compared with known gas cylinders. These gas cylinders have zero value for target gas. Furthermore, these drifts are used to calculate the correction factors to improve accuracy. The output can range from zero to near zero in such a calibration environment.
Span calibration for sensitivity values
Sensitivity is the degree of change in output, detected as the input gas concentration is varied. The sensitivity deviations usually occur in factors of sensor solution, 0.02 ppm in case of a sulfur dioxide sensor. Moreover, these values are used to refine the sensor measurements for effective data monitoring. They tend to provide insights into the extent of variation from known values.
Illustrated below is a calibration study in OIZOM’s laboratory calibration process;
A highly controlled environment is necessary for achieving maximum efficiency. For instance, this includes moderated values of temperature and humidity along with pressure. A standard curve with reference gas concentration and sensor response for carbon monoxide and sulfur dioxide is analyzed.
Y = mx + c , where m = slope of the calibration curve , c = intercept
The linearity of the calibration curve determines the calibration efficiency and data accuracy of the air quality monitoring system. . The closeness of sensor output with reference inputs yields an ideal linear standard curve. The R2 output for CO and SO2 are 0.93 and 0.99 respectively. In conclusion, this indicates that more than 90% of the sensor output concurs with the known gas concentration input.
To sum up, a robust calibration approach is important to improve low-cost sensor data reliability. Moreover, statistical analysis methods will aid in quantifying the level of accuracy achieved. A carefully designed calibration framework is crucial to achieving reference-grade accuracy.


